Protect Range and Protect Sheet in Google Sheets
Bismillah,
Assalamualaikum
On this occasion I will discuss one of the features of Google Sheets, namely "Protect Range" and "Protect Sheet".
Co-editing with others is one of the advantages of using Google Sheets. But sometimes we want some cells to be locked so that they are only edited by the account that owns the file. For that, Google Sheets provides a feature called “Protect Range” and “Protect Sheet”.
With this protection system, the file owner will no longer worry that key data or formulas that have been compiled can be tampered with by other users.
Protect Range
The steps to "Protect Range" are as follows:
Select cells you want to protect with blocking cells, either by left-clicking and holding the mouse or by selecting the end of the cell and then holding "Shift" on the keyboard and then directing the direction"up", "down", "left", and "right" on the keyboard until all the cells you want to protect are blocked .
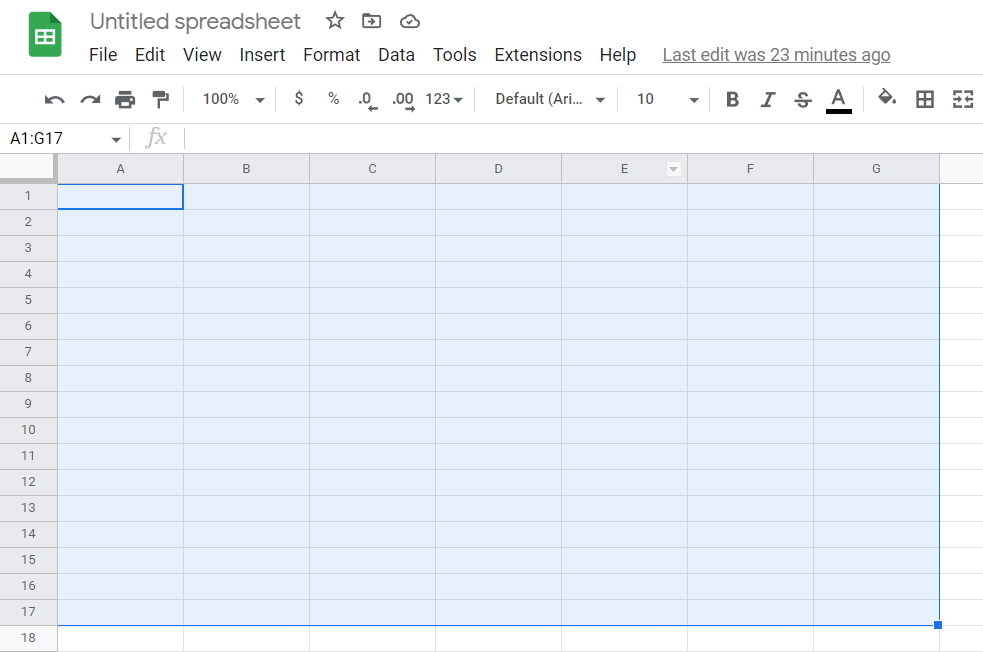
Example of selecting cells that you want toprotect
Right-clicking on the mouse, then selecting the bottom menu, namely “View more cell actions”, then selecting the “Protect Range” menu.

Selecting the "Protect range" menu by right-clicking the mouse
. A window will appear on the right. In that window you can freely write a description of the cell that you lock or not. Next is to press the green “Set Permissions” button.

Fill in the description of the locked cells and the “Set Permissions” button.
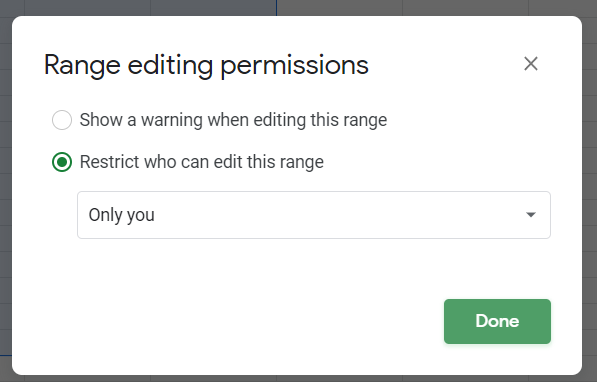
Next, a new window will appear in the middle to select the type of protection, namely:
Only displays a warning if a user edits the area;
Really limited only you (file owner) can edit the area, if it has been selected then you can press the green "Done" button and your cell has been protected.
Protect Sheets
Just like “Protect Range”, the “Protect Sheet” feature is used to lock parts of Google Sheets from being edited by other users. The difference is that "Protect Sheet" locks one sheet as a whole.
The steps to "Protect Sheet" are:
Right-clicking on the sheet you want to lock
Selecting the "Protect Sheet"

menu Selecting the "Protect Sheet" menu
Entering a description and "Set Permissions" (same as explanation Number 3 "Protect Range")
Selecting types of protection permissions (same as explanation Number 4 "Protect Range")
OK, that's the explanation how to activate the "Protect Range" and "Protect Sheet" features in Google Sheets.
I hope this article is useful, thank you.
Wassalamualaikum
Comments
Post a Comment